Installing CentOS on Virtual Box, Part 3: Finishing the Install
This is the third part of a series. Part One – Installing CentOS goes through the initial installation and settings of the Virtual box. Part Two – Installing CentOS talks about how you should configure the Hard drive.
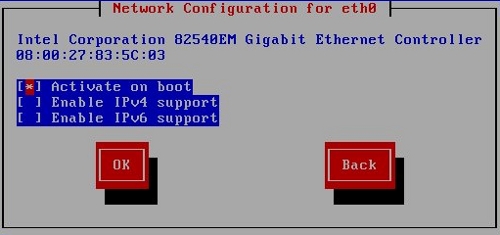
Now that the hard drive configuration is set, CentOS asked about networking. I accepted the defaults through the three dialogs.
First, to configure the adapter.
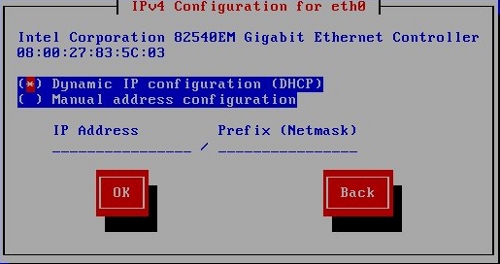
Second, to choose between DHCP or static ip address.
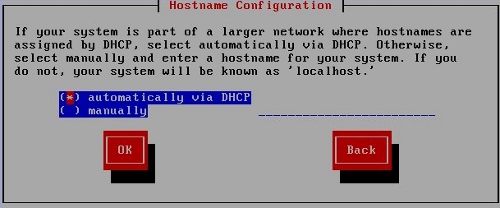
Third, to select the computer name. I felt lazy, so I left it blank; had I named it, I likely would have named it mackerel or flounder or blowfish, since I name my computers for sea creatures.
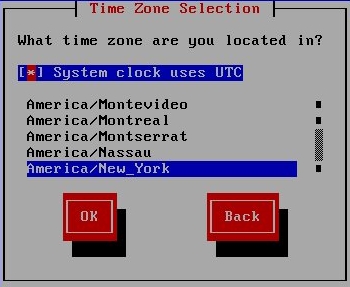
Next, CentOS asked me for my timezone. As is common in Linux distributions, time zones are identified by major cities, not by GMT +/- questions.
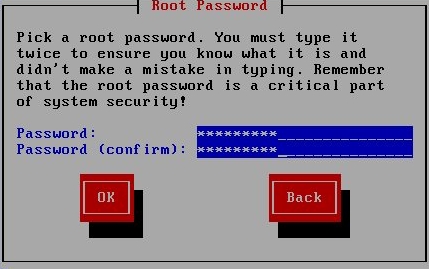
After that, it asked me to establish a password for the root (administrator) user:
Finally, it asked me for software load I wanted:
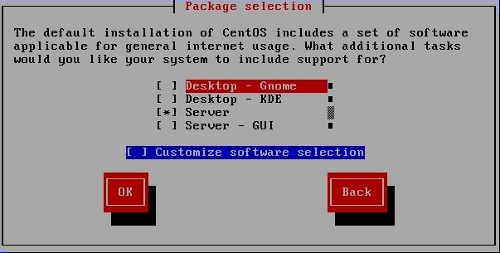
I could choose among:
- Desktop–Gnome
- Dekstop–KDE
- Server (command line only, though a GUI can be added later; this selection is primarily for experienced users configuring “headless” servers)
- Server–GUI (Gnome by default)
I selected “Server,” but later reinstalled for fun and selected “Server–GUI.”
The “Desktop” choices do not include web (the LAMP stack) and file server (samba) software, though it can be added later. (As I’ve mentioned before, despite its conception as an enterprise server OS, CentOS is quite easily simple and versatile enough for a home computer OS.)
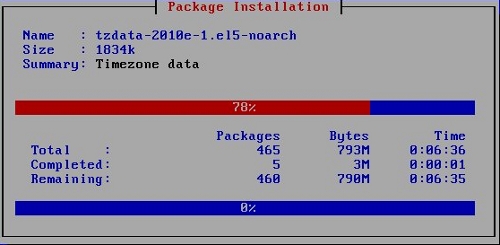
And, with that, the installation began. There was one final dialog box telling me where I could find the install logs after reboot that required me to OK my out past it, then I went off to do something else while the computer did its thing.
Next: Reboot and Final Steps.

