Installing Fedora in Virtual Box #3: Completing the Installation and Starting the New System.
Part one is here; part two is here.
After formatting the hard drive, Fedora begins the base install. Once that’s done, it asks what type of installation you want:
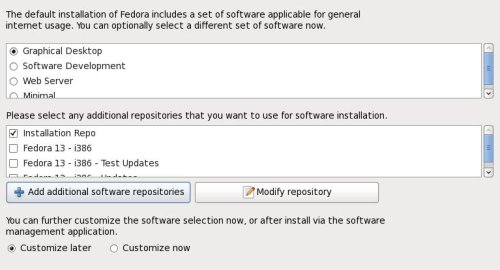
Any one or all of these items can be installed later:
- Graphical Desktop installs GUI along with a standard package of software, including an
office suite(whoops!), browsers, file managers, media players, and the like. - Software Development installs programming and testing tools and libraries.
- Webserver installs Apache, PHP, PERL, MySQL, and server utilties pre-configured to work together.
- Minimal is just that, mimimal: a command line environment with no GUI.
I selected “Graphical Desktop.”
The “Repositories” list at the bottom of the screen points to where on the internet Fedora will go to get additional software. The “Installation Repo” will be sufficient for almost everyone.
Once I made my selections, I wandered away and did something else until Fedora prompted me to remove the CD and reboot:
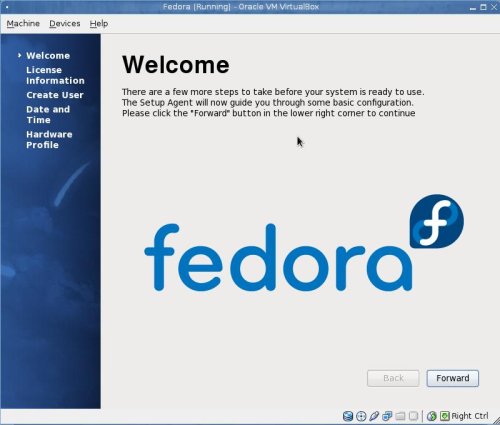
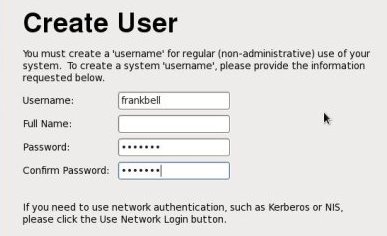
When I clicked forward, it displayed a short message explaining the Gnu Public License (GPL) v. 2, the license under which Fedora is released, followed by a form for creating a login with user, as opposed to administrative, rights for day-to-day computing
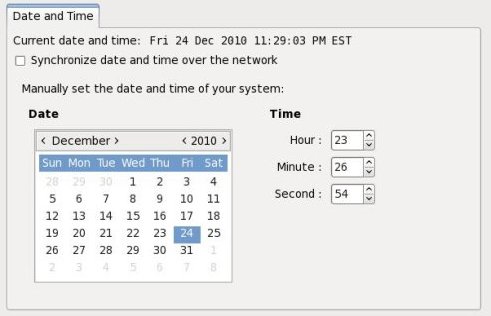
Followed by a dialog for adjusting the date and time, if necessary.
Then it asked me whether I wished to send a hardware profile to the Fedora mothership. The default choice was “Do not send profile.” I approved the default choice and clicked through to the next screen. The installation was complete:
Next: A Short Tour of Fedora.

